
In this lesson, we’ll provide a walkthrough for how to install WordPress on your domain or blog.
In this first section, we’ll show you how to install WordPress automatically through your hosting company; in the second section we’ll show how to install WordPress through your cPanel; and then in the second section we’ll teach you how to install WordPress manually through your FTP client.
How to Install WordPress through your Hosting
Many of the largest and well-known hosting companies such as Godaddy.com, and NameCheap.com provide simplified steps for new customers to install WordPress once they’ve purchased their domain and hosting.
1. Installing WordPress Automatically through Godaddy:
The following guide provides 5 simple steps for installing WordPress through Godaddy in under 5 minutes.
1. Under “My Account”, click on Manage Hosting and select the hosting account you wish to install WordPress on.
2. Click on the WordPress Icon towards the bottom of the page.
3. Fill in the details including what domain you want to install WordPress on, the directory (this is where the FTP files are stored, Godaddy will fill this in for you) and your login details (these are the admin login credentials that will be used to access the site).
4. Click Finish and Godaddy will install WordPress on your site within 15 minutes. You’ll receive an email notification once the WordPress set up is complete.
5. Once installed, you can now visit and log into your site to publish and edit content. In order to log into your site, you’ll need to go to http://www.yourwebsite.com/wp-admin (replace “yourwebsite.com” with your actual domain).
Note that once you’ve installed WordPress on a new domain that you will see a post and page called “Hello World!” This is just an example post that comes with all new WordPress installations that can be deleted.
You can now go to our next lesson on customizing your WordPress site.
2. Installing WordPress through your cPanel (NameCheap)
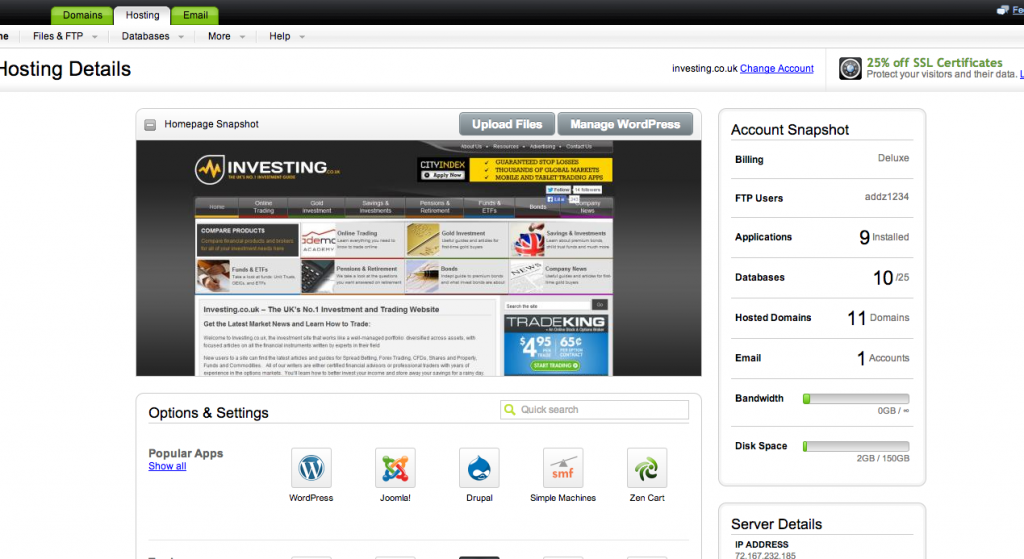
A cPanel is a Unix-based web hosting control panel that is used by many hosting companies. It enables users to manage their entire hosting configurations including databases, FTP client, email lists, applications (including WordPress) and more. Try not to be put off by the appearance of the cPanel as it merely provides an interface to access the different hosting configurations on your site.
In order to install WordPress through your cPanel, you can use the following steps below in under 5 minutes.
1. Log into your cPanel. You’ll normally be given your cPanel login address and details through email when you set up your hosting account. If not, contact your hosting support.
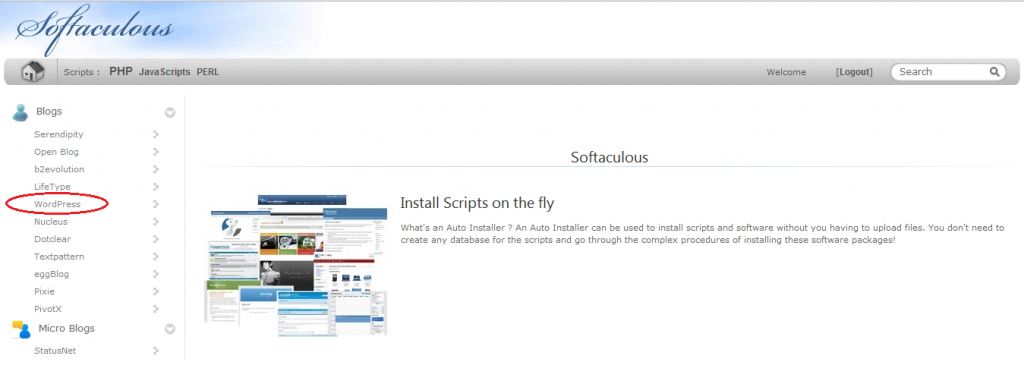
2. Scroll down to the Software/Services section and click on Softaculour (this is a quick installation script that allows you to install different applications with ease).

3. Click on WordPress in the left-hand side menu.
4. Click on Install in the top right of your screen.
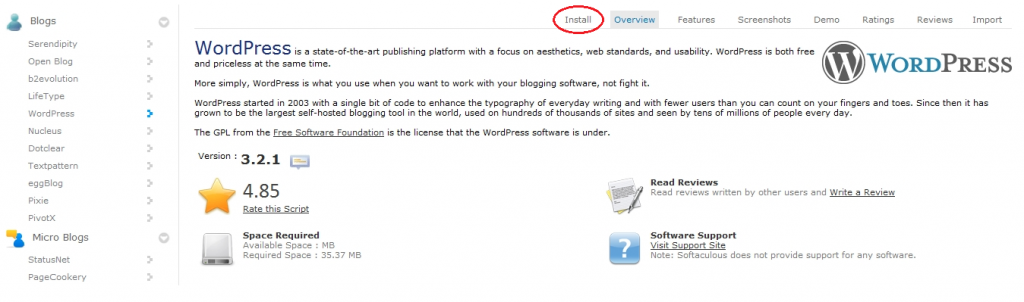
4. Fill in the details on the screen including your Domain, Database Name (don’t worry about this for now) Site Settings (includes site name and description, both of these can be changed later), Admin Account (your login details) and language. Next press Install.
5. Installation should take a matter of seconds with your WordPress site up and running. You’ll be given a link to login in and edit your WordPress site or you can access your admin through YourWebsite.com/wp-admin
3. Manually Installing WordPress through your FTP Client
In this section, we’ll show you how you can manually upload the WordPress files to your hosting through an FTP client.
Note that this is quite an advanced step and not suitable for beginners at all. If your hosting doesn’t provide an automatic setup like above then you should contact a coder to do this for you.
You’ll first need to have an FTP client installed on your desktop/browser with your FTP login details at hand (an FTP client allows you connect to your server and to upload/edit files quickly).
- Download and unzip the WordPress files from WordPress.org here.
- Create a MySQL database through your hosting interface or through your cPanel (this is found under databases). Make sure you write down the Database Name, Username and Password.
- Upload the unzipped WordPress files into the /root directory of your server (this assumes you want to install wordpress on www.yourdomain.com/). If you want to install wordpress on a subdirectory (e.g. www.yourdomain.com/newwebsite) then upload it to the /root/newwebsite/ directory instead.
- Find the wp-config-sample.php file and rename it to wp-config. Then edit the database information to the ones you wrote down earlier. You’ll need to add the Host destination (usually ‘local host’), the DB name, DB username and DB password.
- Run the automatic WordPress script by visiting the website and following the protocol. Note that if you see the error “Database Connection Failed” in black letters on your screen then the information in the wp-config file above will be wrong.
Visit WordPress.org for more detailed instructions on how to install WordPress.

Example of an FTP client installing WordPress files